
Choosing handmade paper for your wedding invitations will set the tone for an elegant and timeless look to your wedding. If you’re wondering how to print on handmade paper, you’re in the right place. In this post, we'll guide you through the simple steps to print on both cotton rag paper and our recycled handmade paper.
1: Choose the Best Printer for Printing on Handmade Paper
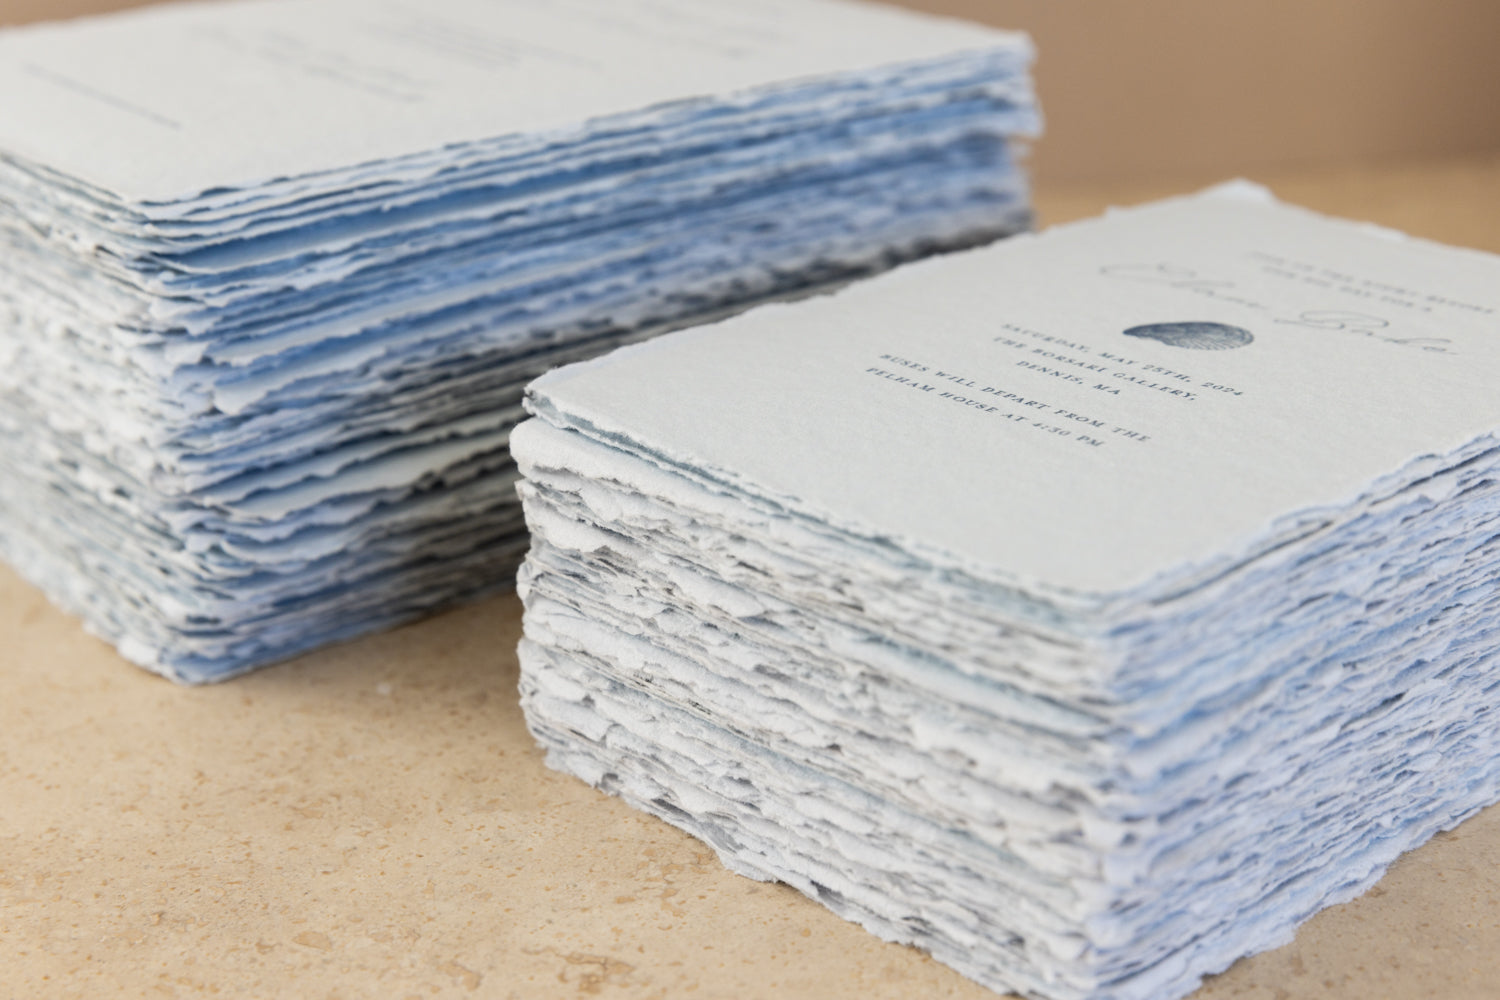
The first step is to choose the best printer for recycled paper. When it comes to digital printing on cotton rag paper, or any handmade paper for that matter, we prefer an inkjet printer, especially for our deckle edge cotton paper due to the feathery edges. Our cotton rag paper is best with inkjet however our recycled paper can also go through some laser printers.
We use a combination of the Epson Pro 16600, HP Officejet Pro 9720 and Canon Pixma Pro 200. We don't recommend digital printing on 300gsm as a lot of printers struggle with the thickness. 250gsm is totally fine and 300gsm is best for letterpress work.
2: Adjust Printer Settings
Before printing on cotton paper, adjust the printer settings to achieve the desired results. Set the print quality to the highest possible level and ensure that the media type is set to ‘thick’ or ‘heavy’ and or ‘art’ paper.
3: Clean and run a maintenance job on the Printer for the Best Cotton Paper Print Results
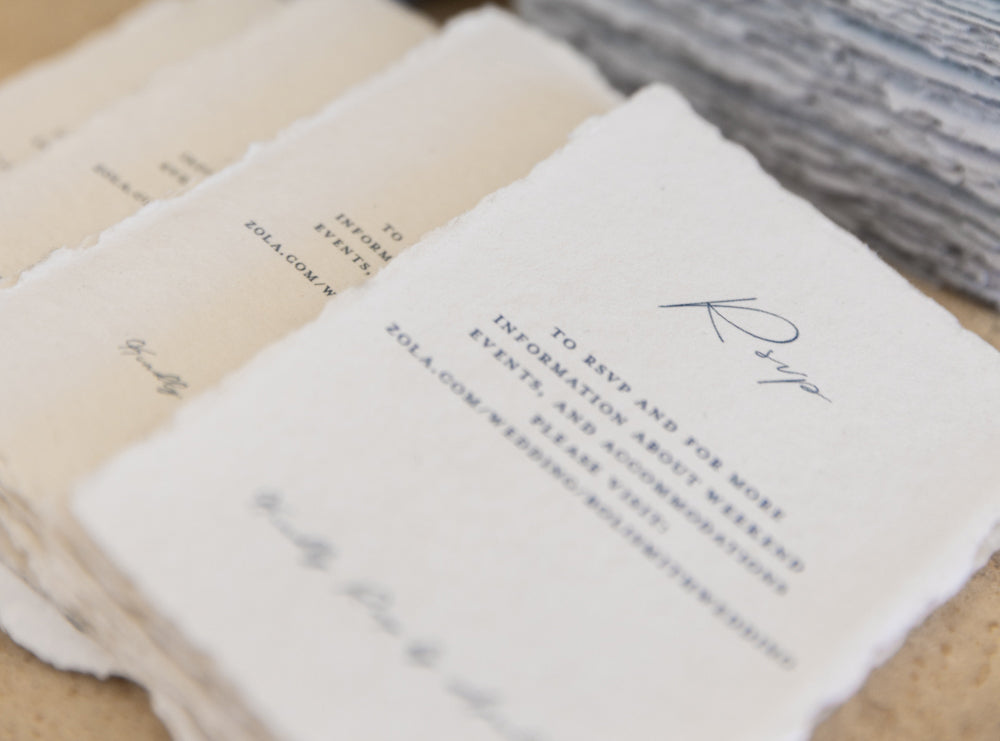
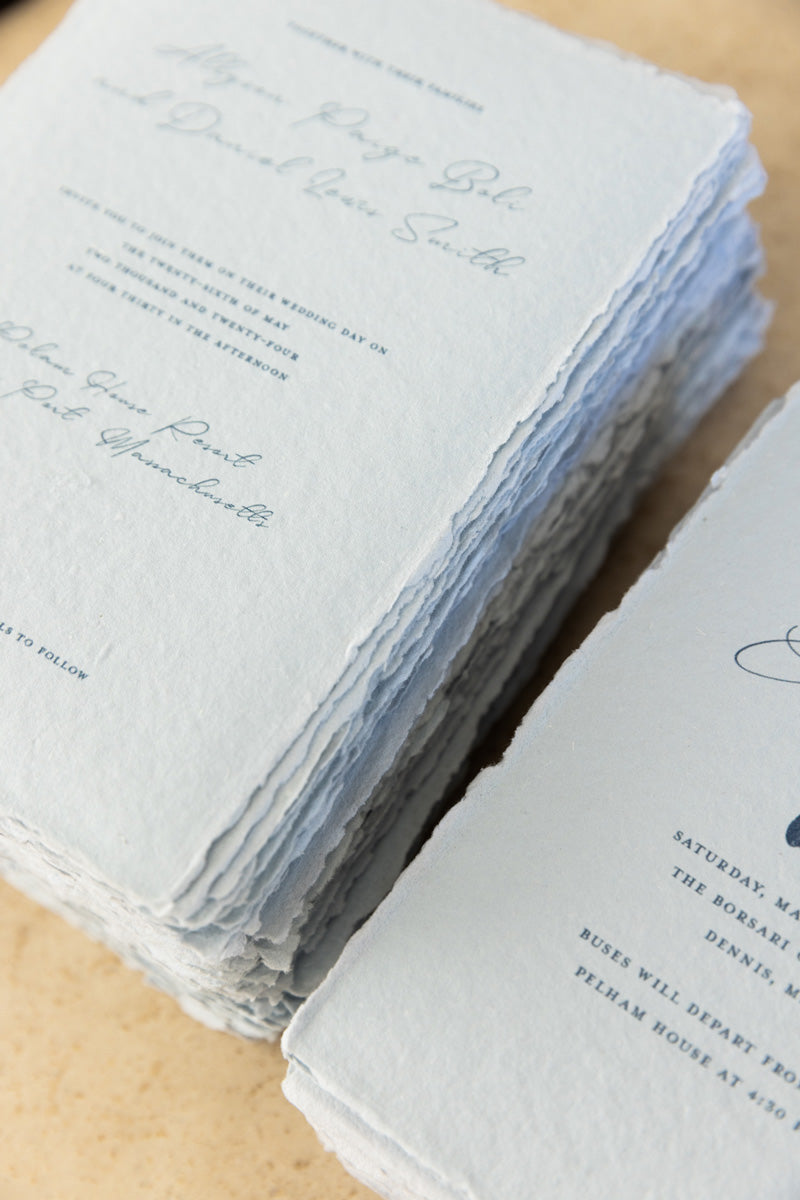
We always clean the rollers (refer to your printer manual on how best to do this but usually wiping it with a damp cloth then is fine), make sure the roller is dry before printing on handmade paper. To minimise bleeding on the edges (this can happen if its quite fluffy) you may need to lightly pull some of the edges off, you’ll still maintain the beautiful raw edge we love about cotton rag paper.
4: Print Settings on your Computer
Make sure to adjust the print settings on your computer before you hit print. Select thick, recycled or heavy matt paper (every printer setting is different so you may have to test a few of the different options if there are more than one). Set the quality print to normal or best.
5. Print a Test Page
Print a test page before hitting print on the entire file. This ensures the printer is accurately calibrated, and the settings are appropriately adjusted for printing on rag paper.
6: Load the Recycled Paper
Load the cotton rag or recycled paper into the printer tray and ensure the edges of the paper are correctly aligned, and the paper is not creased or folded and make sure the paper is neatly stacked.
7: Print on Your Handmade Paper! : )
Once you’ve done a test print and you’re happy with the result, go ahead and hit print. We suggest printing 6-10 pieces at a time. From there, watch the prints as they come out to keep an eye on any potential printing issues so you can cancel the print job before more prints are wasted.
8: After Printing
Allow the printed cotton paper to dry completely before handling it. This will ensure the ink does not smear. If there was some bleeding on the edges you need to lightly pull off the edges with ink on them.
Printing on cotton rag paper does take a little patience so take your time and just enjoy the process.
We offer a printing service if you don't have access to a printer or don't have the time. Please get in touch for a quote. If you're considering letterpress invites, have a look at our letterpress article here and get in touch with the printers directly for a letterpress quote as we only offer digital printing.
For more printed examples check out our instgram.
Share:
For the Love of Handmade Paper
Paper & Envelope Size Guide